Monday, November 19, 2012

DIY Seating Name Cards (Bookmarks)


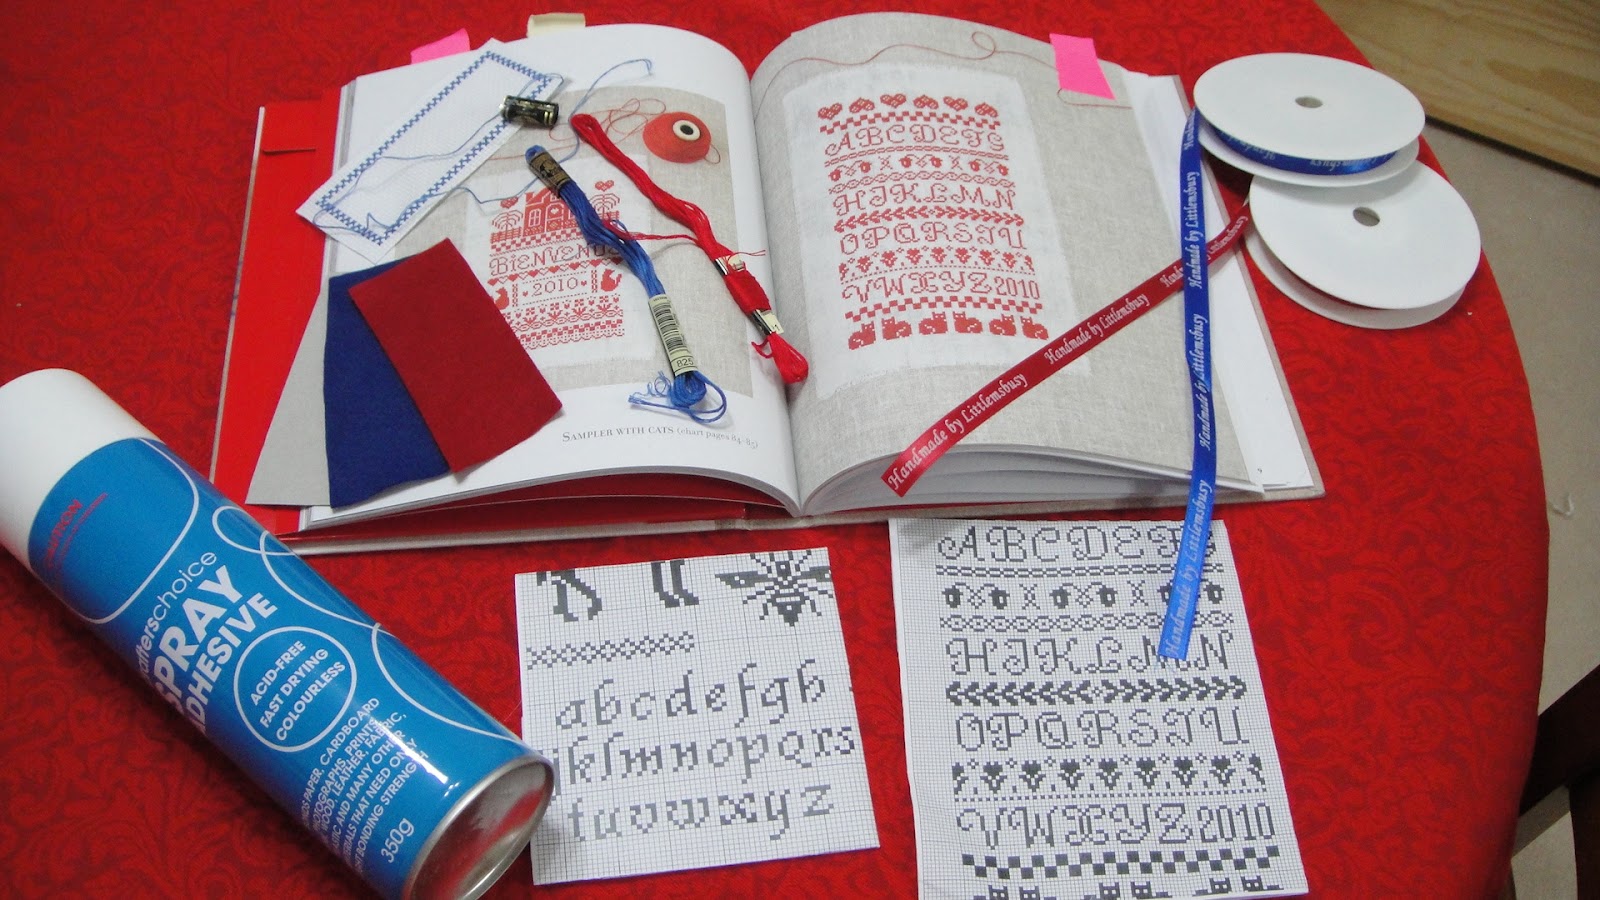
I wanted to do something special for the seating card and was inspired by framed seating cards. I had something in mind, but I really doubted if I can accomplish it. My initial design was a bookmark (with the guests’ first name) slid into a sort of frame made from card stock. I have this most wonderful book of sampler design:


After thinking about it for a few days, I made the first prototype and immediately liked it. Surprisingly, the material is quite stiff, and it’s capable of holding its shape. In the end, I didn’t have to use the cardstock frame.


Backing is simple felt in matching colour of red and blue.


I used DMC cross stitch yarn, 825 blue and 321 red (Christmas red - I love Christmas red!!)

I ordered customised ribbon from www.personalisedribbons.com.au in matching red and blue colour as well.


A little bit of the mess:


The end products:


DIY Wedding Invitations


I’m not sure how I came with the idea or when, but I decided to make our invitations. With the help of my fiancé (now husband), we started the design process and we made our invitation prototypes.


List of our materials:
Japanese Yuzen Paper from www.origami.com.au

Card stocks, pockets, and envelopes from www.makinginvitations.com.au

Invitation Paper from www.dizzidezine.com.au. This is the most challenging of all, who knows there are so many shades of white/off white on paper!

Diamond buckles from www.discountweddingpapers.com.au

Black Ribbons from www.makinginvitations.com.au

After completing all the invitations, we thought the pocket envelope looked a bit ‘empty’. The decision was to add something to it, to complete its look. A few designs came up, this is one of them:


The best one that we have is this:


 but we didn’t have enough yuzen paper left and the company had run out. So, we ended up buying another paper from www.amazingpaper.com.au in Newtown, and use yuzen for family invitations only.


Wedding Wishing Well


Hello everyone! It’s time now to reveal the reason behind my lack of blog posting this year. Now that the festivities are over, I can announce that I got married early this month! Yay!

I had a few days to settle down from all the excitement and I think it’s now time to post this blog.
A lot of my friends asked me earlier on what my dream wedding is. The answer is ‘I have none’. The reason behind this is I believe that I don’t like to be defined by wedding trends or how-it-should-be’s. I’m just the type of person who doesn’t necessarily go with the flow. In other words, I do what I want to do, when I want to do, in any way I want to do. So, I’m really grateful that I found my soul mate who understand and accept this about me.

Right after proposal, I recalled this cute pattern that I found a few years back from Berroco. It’s actually cover for plates. Inspired by it, I transformed it into wishing well cover instead. First of all, I bought three tiered cylindrical hat boxes.

Measured twice, cut once, and stick some Velcro on the inside flaps (so the whole thing is collapsible – easier to store and transport). Using craft knife, I cut a hole at the front of the top tier.


Put together:

Collapsed into one for easy transport:

Now, for the cover, I don’t particularly follow the pattern, because I know that the size is going to be different. So, what I did, I started the crochet top to bottom. To start with, I made 5 ch and chain in first ch. The rest is basically circular dc, with several increases accordingly (I kept on referring to the size of the hat box).


What I followed from the pattern is the ruffle at the edges of the wishing well cover.


The flower patterns are from this amazing book that I have:


I made one with blue and yellow flowers:


Another one with red and pink flowers:


Saturday, October 20, 2012

Spring 2012 Cute Knitted Dress with Out-Of-This-World Laces


This project has been in my queue for a very looonngg time.
Finally, made it to the top of the queue this year. Just in time for spring.
I allocated 1 month for completion of this dress, but completed in 2 weeks. Winning!!

This dress pattern is of course from Garnstudio, I’m a big fan.
And please please please, check out this range of colour of DROPS Safran yarn. 
Seriously, if this doesn’t make you want to knit, I don’t know what will.... 
It’s like they have all the amazing colour there is on earth.


Amazing laces at the bottom of the dress:


(Completed 6th Oct 2012)

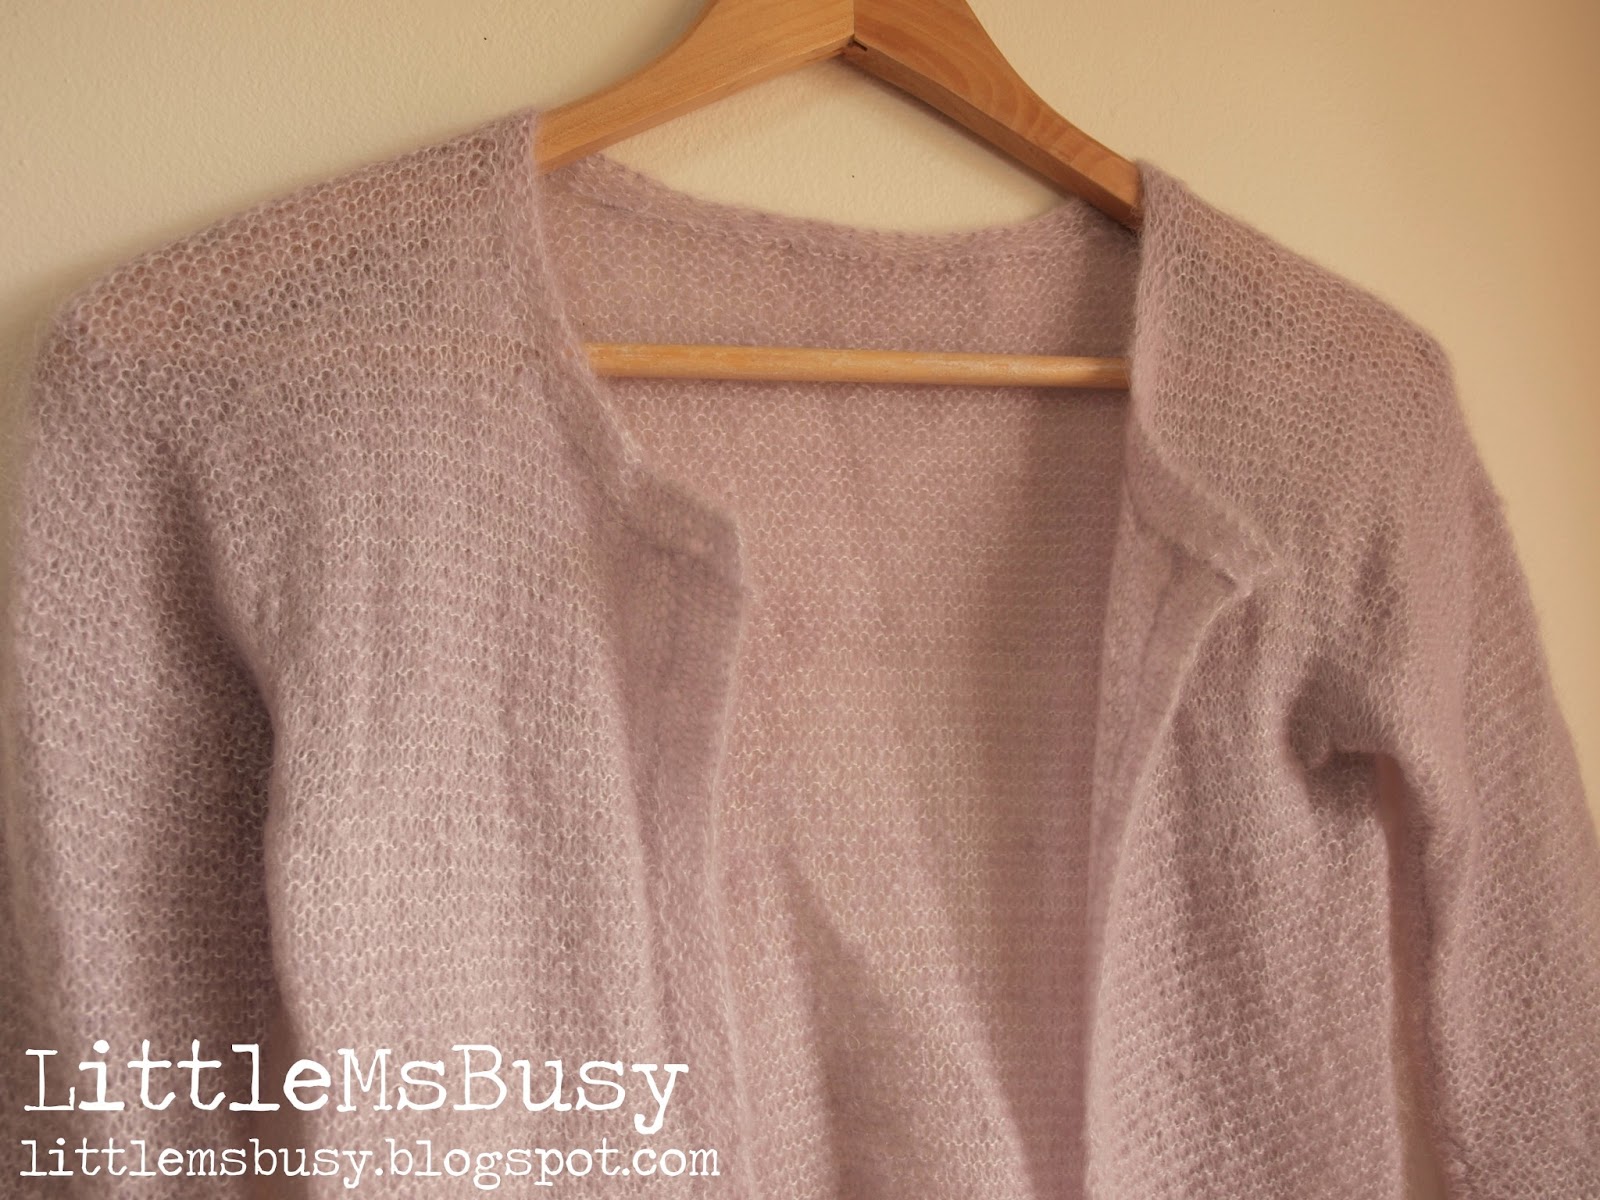
Lavender Purple Cardigan

After considering several projects to do with the remaining kid silk yarn that I have, I decided to knit up this cardigan. I like the simple design and I thought it would be perfect with the purple colour yarn that I have.

Surprisingly it took longer than expected, the needle is small and the lace like material makes this cardigan a bit of a challenge. I finally completed the cardigan in 25 days.

Now I have 1 more ball of kid silk yarn to finish :-)


Completed 27th Sept.